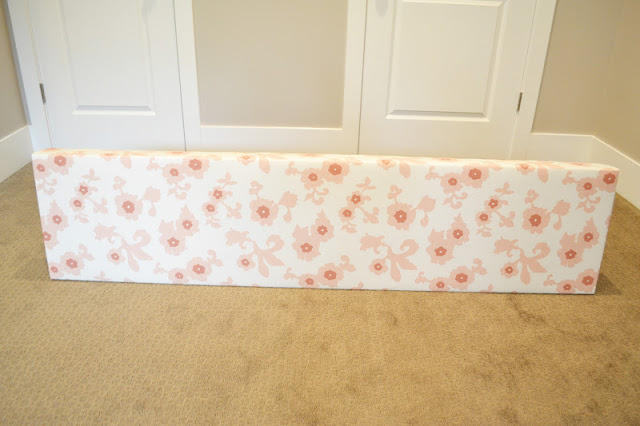
This a fun, inexpensive and fairly easy project that took us just a couple of hours to complete. Here is the run down of how we did it..
My hubs and I measured out the dimensions of the cornice and headed to Home Depot to purchase a sheet of MDF. We purchased a sheet of 1/2" MDF for $14.00 and then had the wonderful people at Home Depot cut it for us right in the store. My daughter's window is 59" wide and I wanted a 5" overhang on each side. I also knew that I wanted the cornice to be 16" tall, so we had them cut a 69" x 16" piece. I then determined that the proper depth for the cornice was 4" from the wall. Since the MDF is 1/2" thick, I had the people at Home Depot cut me two 3 1/2" x 16" pieces (for the sides) and one 69" x 3 1/2" piece (for the top). It was so great not having to do any of the cutting ourselves...BONUS!
The hubs then took all of the pieces and assembled them together with screws and L Brackets.
He placed the side and top pieces on top of the face piece, not next to it.
I then sprayed the cornice with spray adhesive and covered it with a thin quilt batting which I purchased from Hobby Lobby.
It looked like a hot mess from the back, but nobody is going to see that anyway. :)
After the adhesive was dry, hubby took the cornice inside and secured the fabric to it, by wrapping the fabric and stapling it with a staple gun to the inside.
For the corners, I just folded the fabric like I was wrapping a gift to create a nice, clean, straight line.
Again, a mess from the back when it was done, but...
Pretty good looking from the front!
I knew that the cornice needed to be jazzed up a bit, and since I have a slight obsession with nailhead trim, it was the perfect solution! I purchased this 5 yd roll of nickel nailhead trim from Hancock Fabrics for $12.00.
My hubs simply nailed it in using a hammer! (I realized that it doesn't look like I am doing much work on this project, but I promise I helped every step of the way!) :)
The finished product!
The cornice was attached to the wall, once again, using L Brackets which were secured first to the wall, and then to the top piece of the window cornice.
I think it turned out beautifully, and the whole project cost me roughly $55.00, including the fabric!
Like I mentioned before, I will still add full length drapes to complete the look I am going after. Miss M's Room is coming along nicely and I am hoping to have it completed in the next couple of weeks. I am so excited to share it with you! Until then, here is a little peak at a few of the elements already in her room..
She is loving her room so far and that is what matters most!


